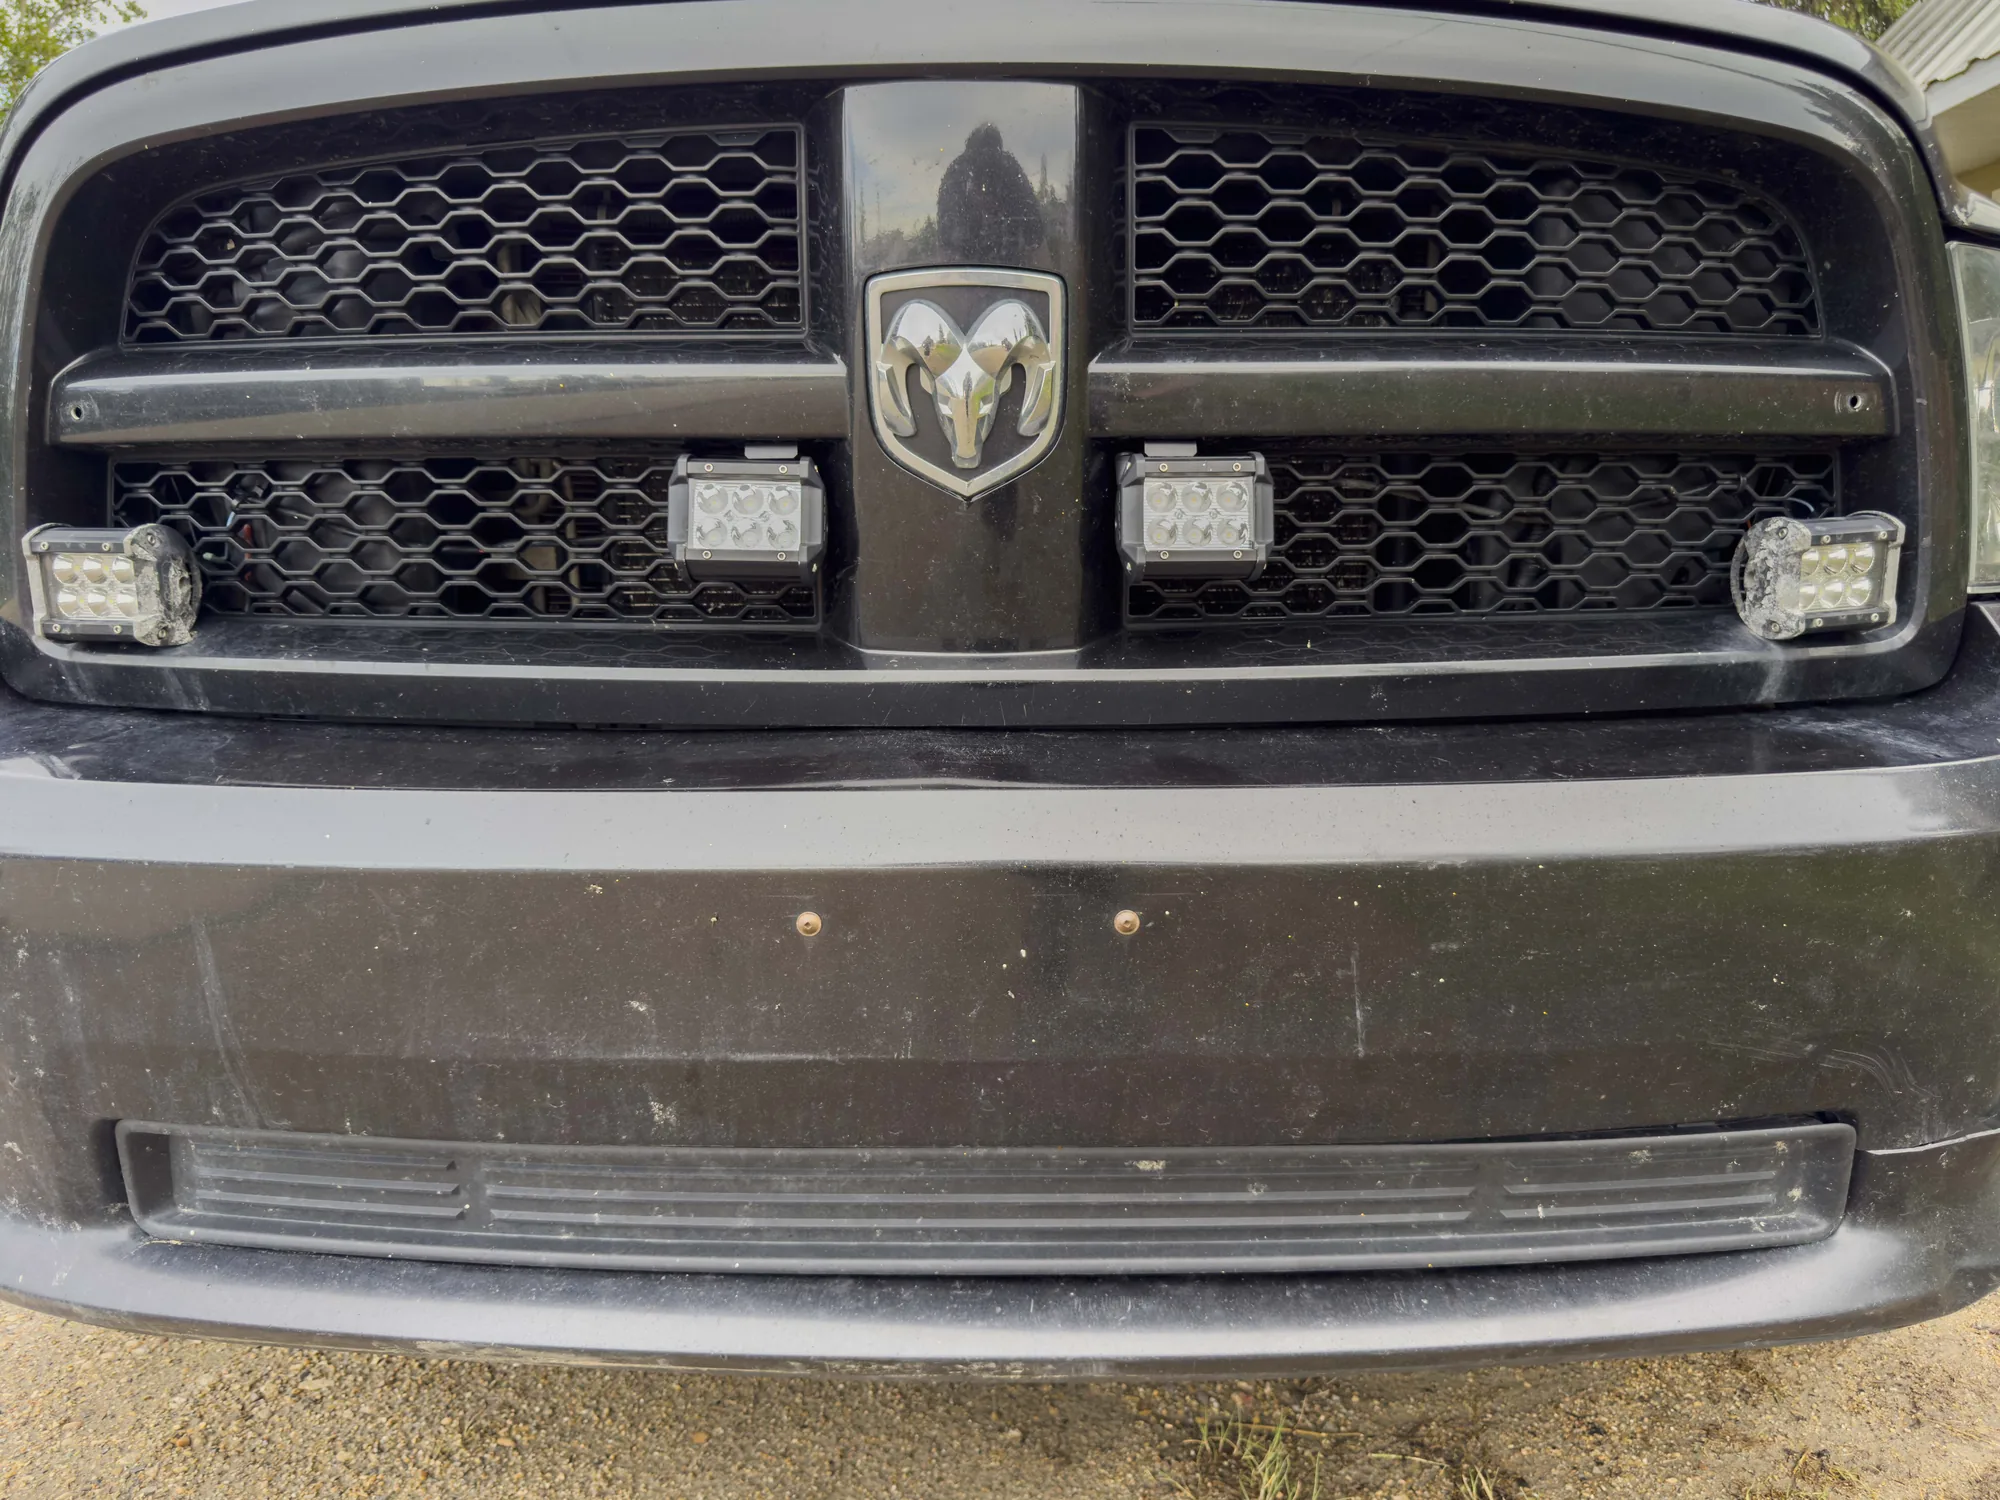
Why I went with cheap Amazon LED pod lights for my truck, what they cost, and why I would recommend them to anyone starting out. Four pods, front bumper, ditch-light angle.
Why go cheap?
Like most people who get into the flood-light game for their rig, I am pretty sure we all googled the same thing: "cheap flood lights," or "SUPER BRIGHT SPOT LIGHTS FOR TRUCKS." Okay, maybe that last one was just me.
Either way, the shock and horror at some of the prices pushes a lot of people to look elsewhere, and that is exactly what I did. I hopped on Amazon and found these LED pod lights for under $50 a pair. In my eyes, an LED is an LED. Expensive or cheap, they are doing the same job: making light. So I went with the cheap-is-good idea to start, and I have no complaints.
Some links below are Amazon affiliate links. If you buy through one I earn a small commission at no extra cost to you, and it does not change what I write. Full disclosure.
Two, then four
I had the first pair installed about a year ago. They survived an Alberta winter without a fuss, so today I added two more, four pods up front now.
I run one aimed out to each side, left and right, which is great for ditch views at night, with the rest pointed ahead for extra reach down the road.
Bolting them on
Here is the good news: these are way easier to install than they look. On my 2010 RAM 1500, you pop the hood, undo four 10mm bolts, and the whole front grille lifts right off. Do this. I cannot stress it enough. Wrestling lights into a bumper with the grille still on is a special kind of misery, and you have got a 10mm spanner and thirty seconds standing between you and an open workspace.
With the grille out of the way, the rest is almost relaxing. Figure out where you want each pod, drill a hole for the mounting bolt, and drill a second one for the cable to sneak through (or do what I did and just bend the cable through a gap in the grille, nobody is grading you). Snug the bolt down nice and tight so your light is not doing the cha-cha at highway speed, and you are basically done up front.
Wiring it up
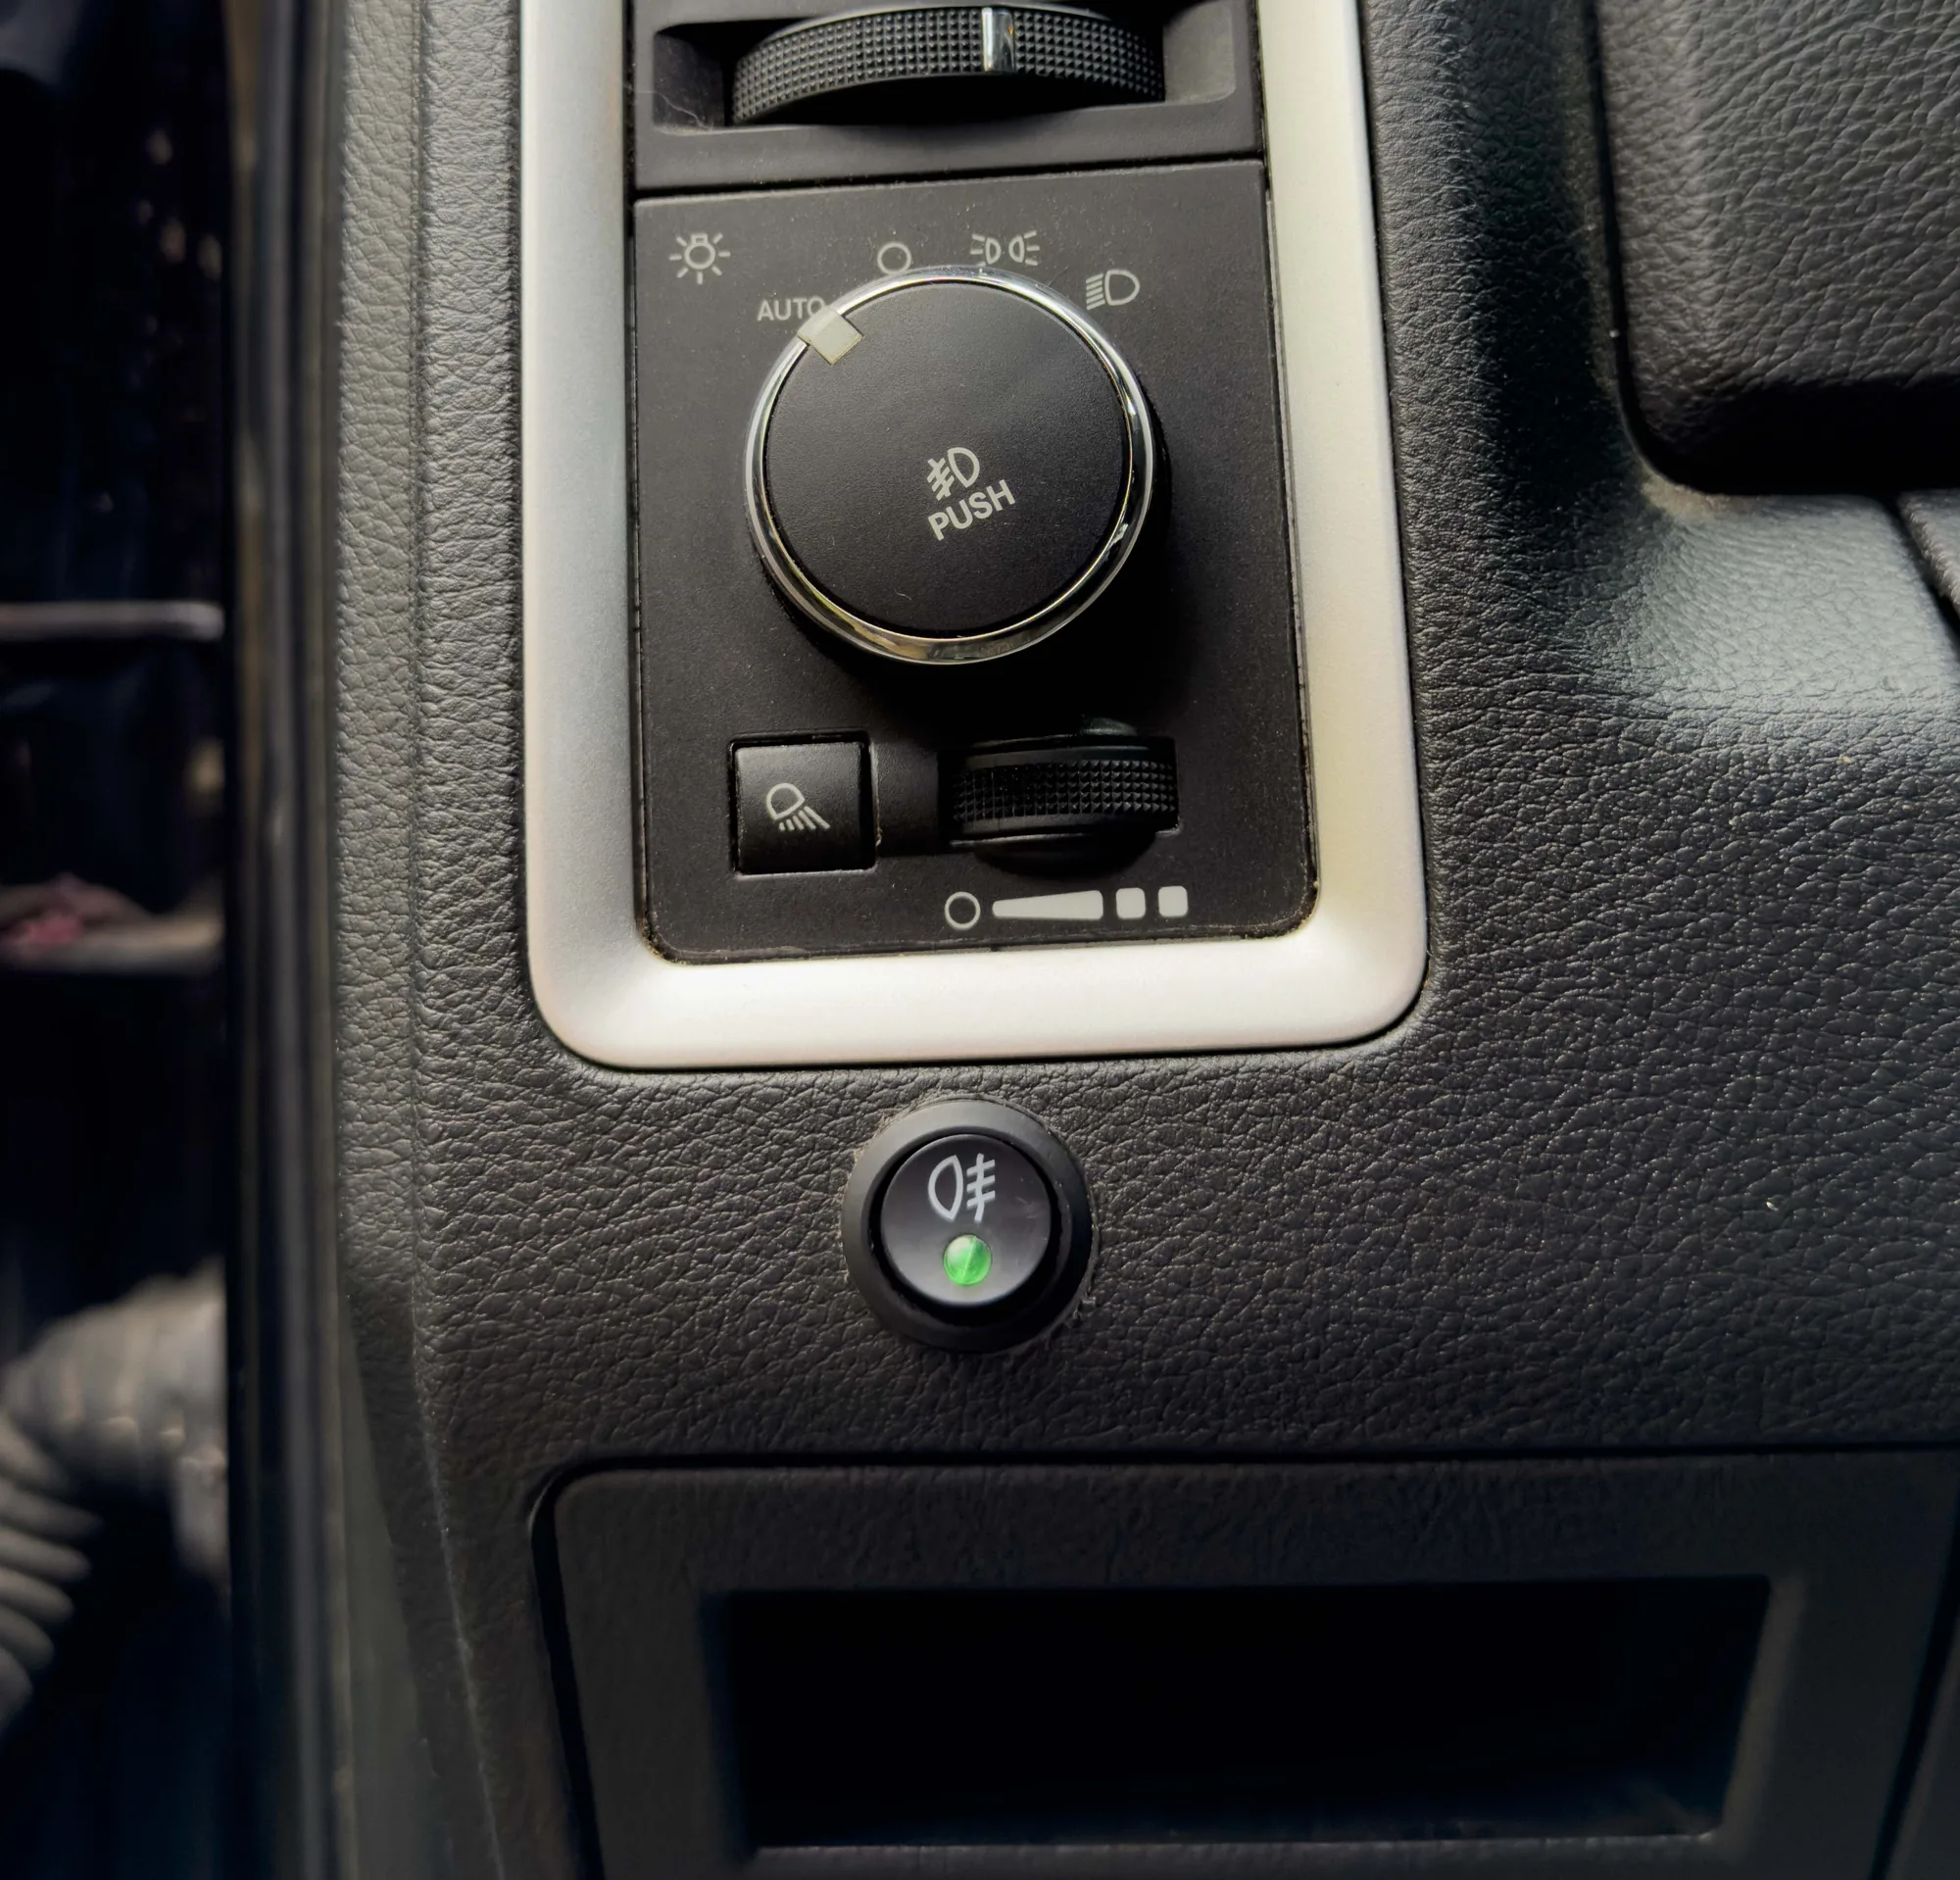
This is the part people dread, and it is honestly not that bad. If your kit came with a wiring harness, follow it. I went simpler: a single switch drilled into the dash, tucked right under the factory lighting controls so it looks like it belongs there.
The one genuinely fiddly bit is getting the wires through the firewall, the rubber-grommeted wall between your engine bay and your knees. Find an existing grommet, poke the wires through, and resist the urge to invent new holes.
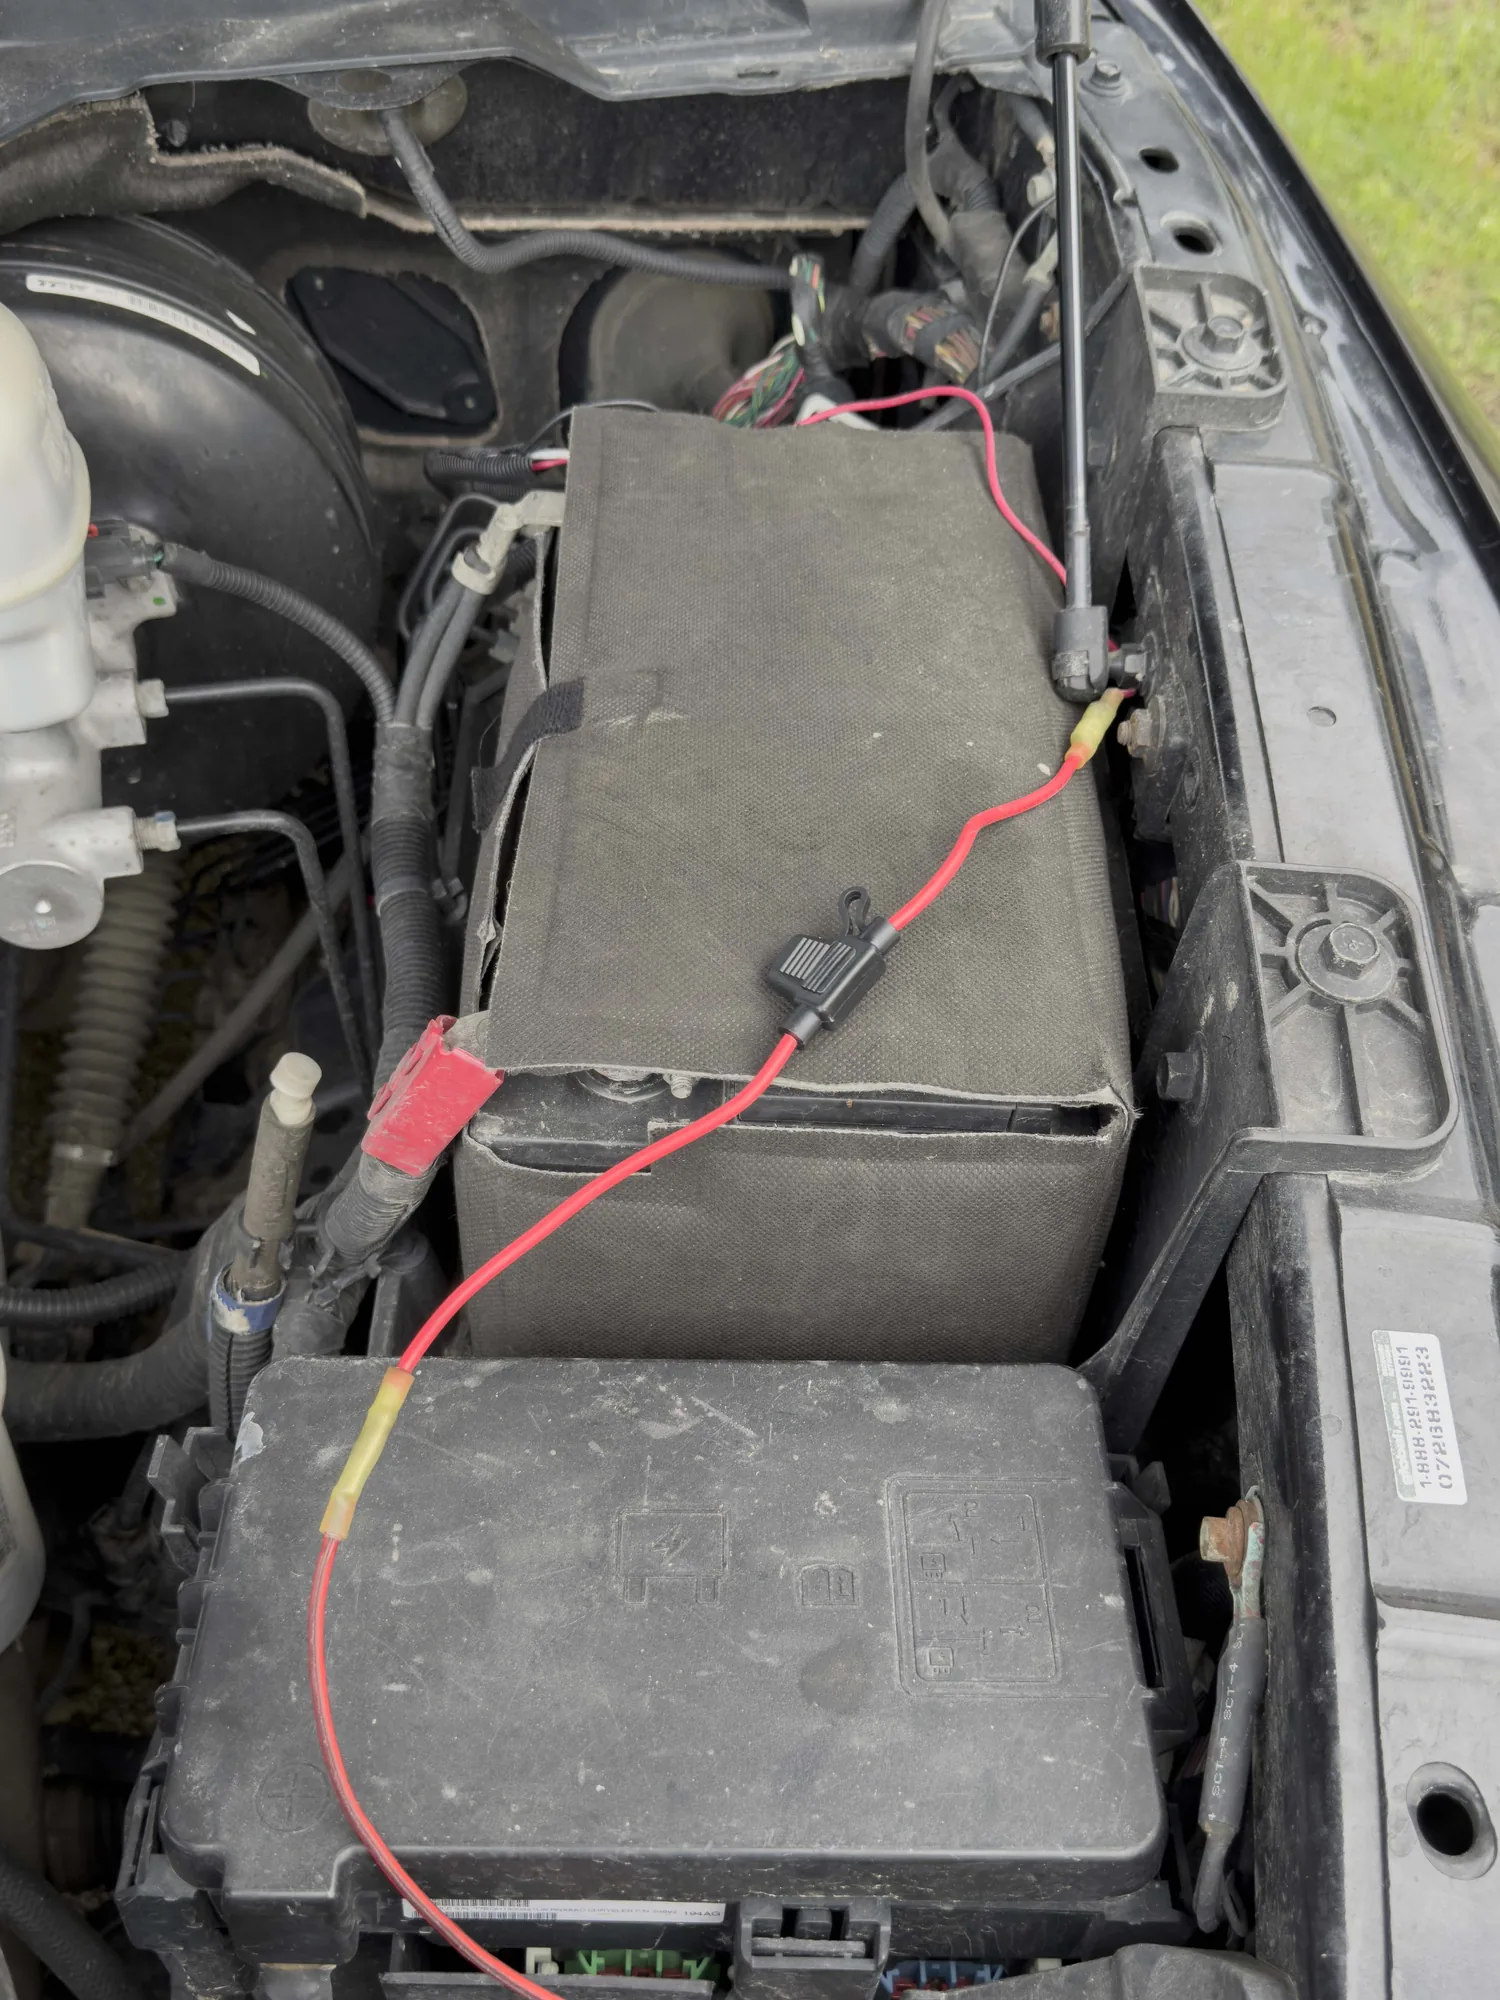
Power comes off the battery, through an inline fuse (do not skip the fuse, the fuse is your friend), and up to that switch. Flip it, watch the front of the truck light up like a runway, and grin. I will not pretend to do a full step-by-step here, every truck is a little different, so if you want the nitty-gritty for your exact rig, a five-minute YouTube video will sort you out.
What is good
For under fifty bucks, these punch well above their price. They throw a solid range of light, the extra visibility makes the road feel a lot safer, and just as important, people can see me a lot more easily.
That side-throw for spotting the ditch on dark back roads is the part I would miss most if I ever took them off. Honestly, you would be surprised at how many animals like to stay in the ditch last minute, before they decide to run out in the road.
The catch
It is not all free. There is some drilling involved: into the dash to mount the switch, and into the bumper to mount the pods. And running the wiring is a bit of a pain: power off the battery, through an inline fuse, and up to a switch on the dash.
Nothing crazy if you are handy with crimps and a drill, but it is an afternoon of fiddling, not a five-minute job.
Bottom line
If you are just starting out and the premium light bars are scaring you off, do what I did. Cheap pods, mounted well and aimed right, get you most of the way there for a fraction of the price. Cheap is good.
Two of these have been on the truck for about a year now and they have held up fine through a Prairie winter, some paint wear but still working like day one.
The install at a glance
Cost, difficulty, tools, and how they have held up a year in.
Cost
Under $50 CAD for a pair
Four pods up front now, bought as two pairs a year apart.
Difficulty
Moderate · DIY · ~1 hour at home
Easy mechanically, fiddly electrically. An afternoon, not a five-minute job.
The 10mm gets the grille off, which is the single best thing you can do for yourself here.
Why I installed them
Visibility, both ways
Extra light to the front and the sides for ditch views on dark back roads and Alberta blizzards. They also make me a lot easier to see.
A year on
Still going
Held up fine through a Prairie winter. Some paint wear, but working like day one.
What I used
The exact parts, and what they cost. Prices approximate, last checked June 2026. Some links below are Amazon affiliate links. If you buy through one I earn a small commission at no extra cost to you, and it does not change what I write. Full disclosure.
Genuinely roomy for three, with storage details that earn their keep. Then the rain fly tore off at the poles on night thirteen. Four out of five, and buy the footprint.